| Windows Server 2019 Datacenter Evaluation(Desktop Experience) | VMWare Workstation PRO 15.5 |
| Win19BDC00 | VMWin19BDC00 |
| WIn19C01 | VMWIn19C01 |
| Win19C02 | VMWIn19C02 |
| Win19C03 | VMWin19C03 |
| | |
Create a new Virtual Machine and Setup the OS
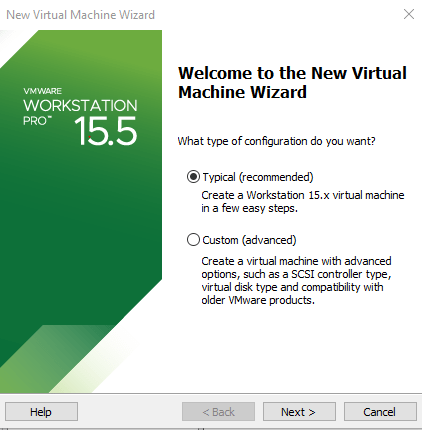
1. Launch the VMware Workstation and select File,then click New VirtualVirtual Machine.Leave it as Typical (recommended)
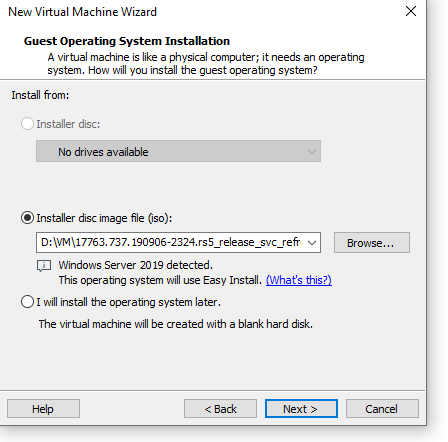
2. On the Guest Operating System Installation page choose I will install the operating system.
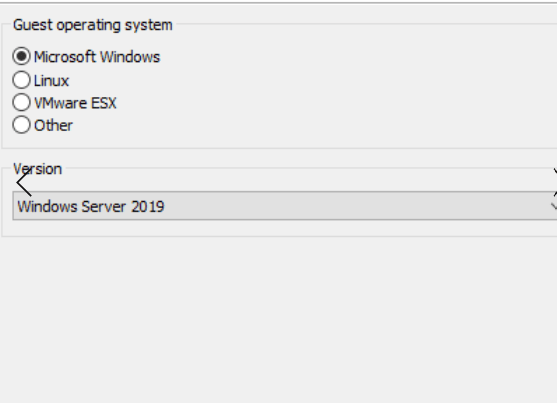
3. Leave the selection as Microsoft Windows,Version Windows Server 2019.
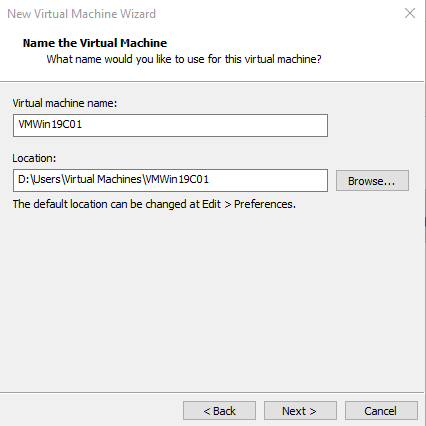
4. Give your Virtual machine a name and choose or browse Location where the VM files will be stored.
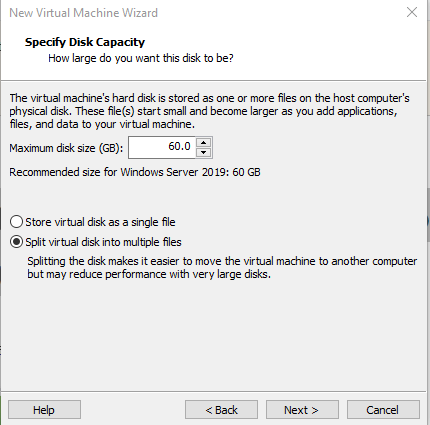
5. Specify Disk Capacity .Maximum disk size.Recommended size for Windows Server 2019:60GB.Split Virtual Disk into Multiple FIles.Review and Finish.
6. To install the MS Windows 2019.Right click the VM you just created and click on Setting.CD/DVD (SATA) ,then USE ISO image file: and Browse to the location where you have the ISO stored.
7. Repeat the above to create 2 more Windows Server.
I choose Installer disc image file (iso):I have my iso saved in D drive but it failed with the below.


Promote one of the Windows server to a Domain Controller.
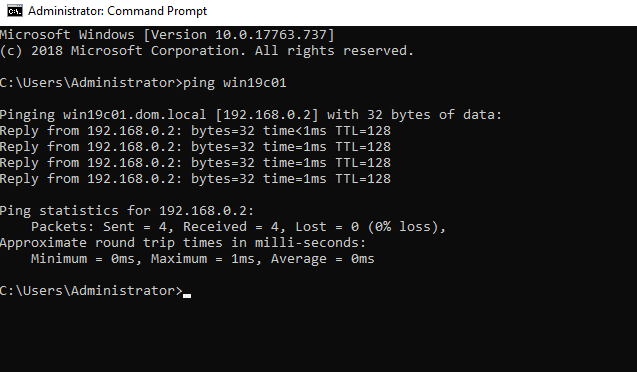
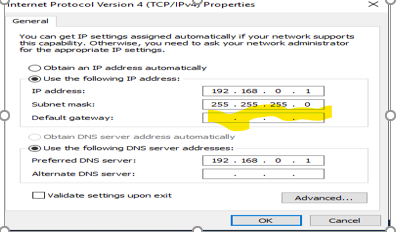
Test you can ping the DC from the 2 servers.
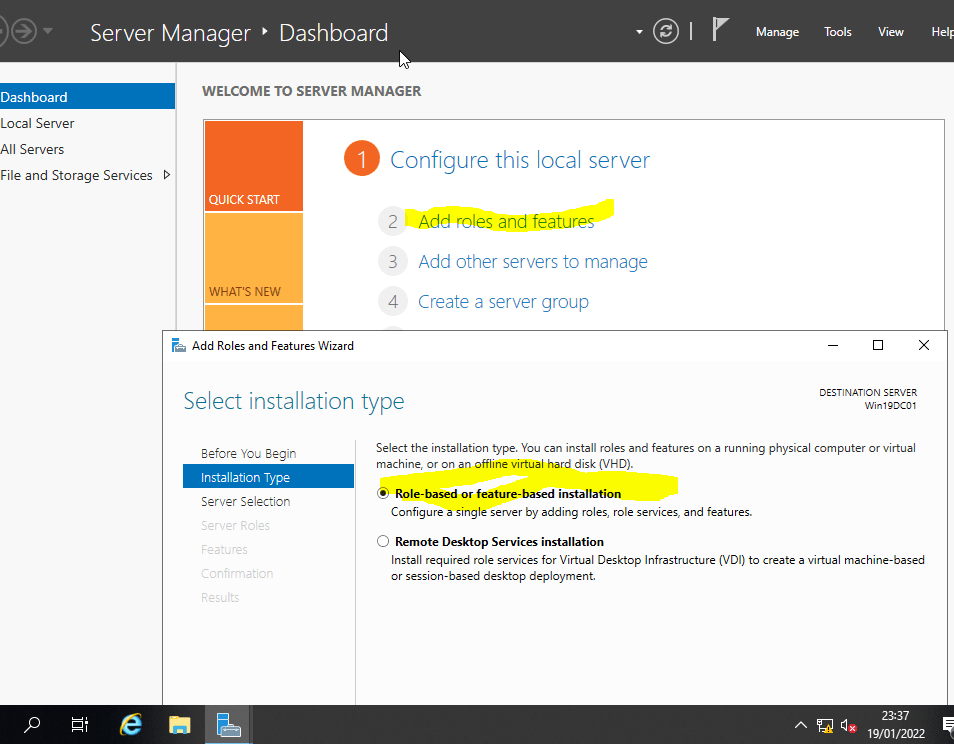
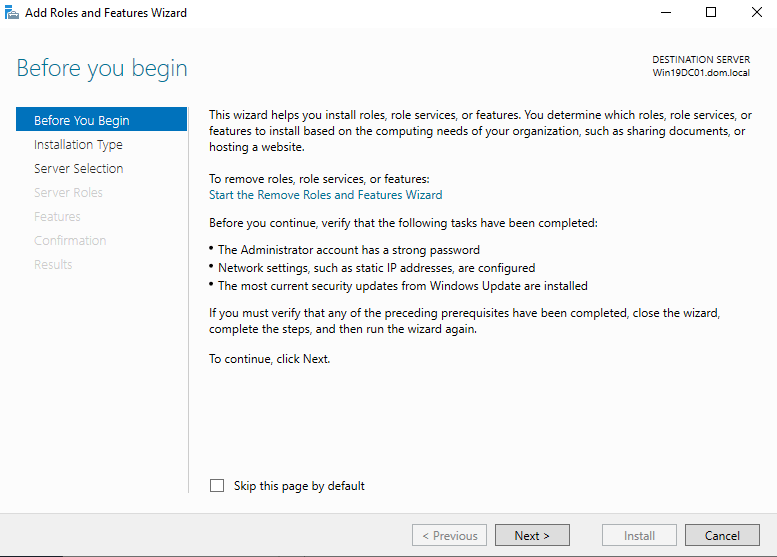
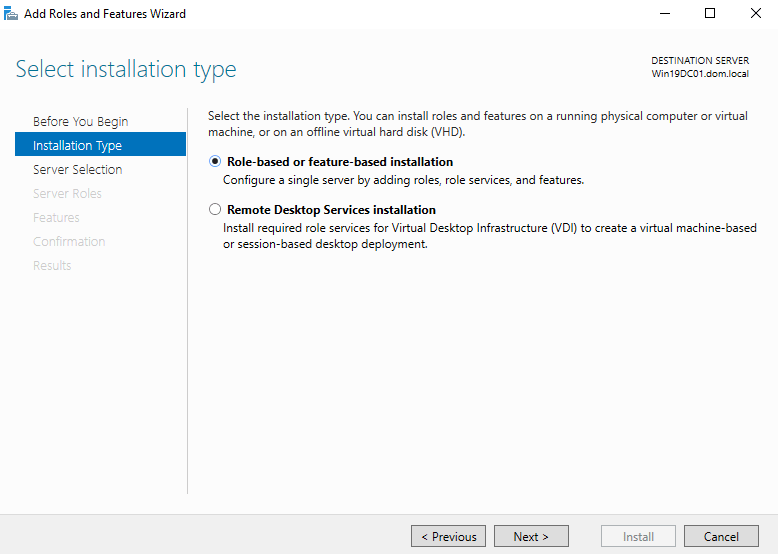
1. In Server Manager,Dashboard – Add roles and features – Role based or features-based installation.
2. Under Roles Active Directory Domain Services ,add Include management tools(If applicable)
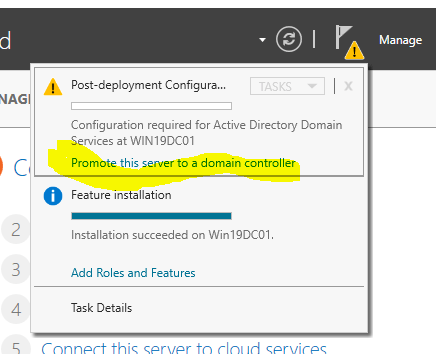
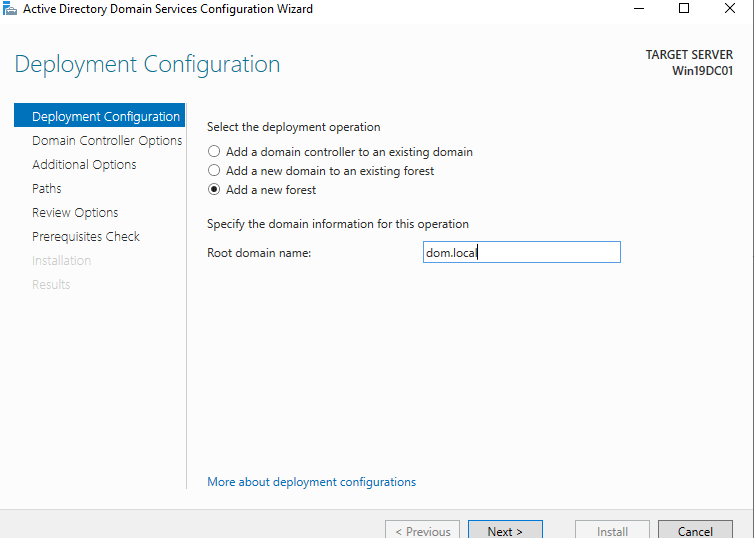
3. Post-deployment Configuration under flagged notification ,click Promote this server to a domain controller.Root domain name:Your domain name.
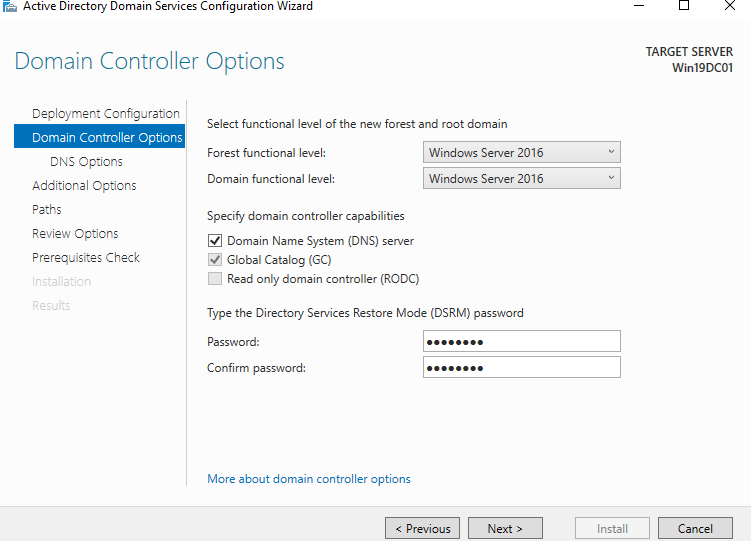
4. Domain Controller Options .Forest funtional and Domain funtional level :Windows Server 2016.Specify domain controller capabalities – Both DNS server and BC checked.Type the Directory Services Restore Mode password – Your password.Complete the installation.
5.Test you can ping the 2 servers from the DC.

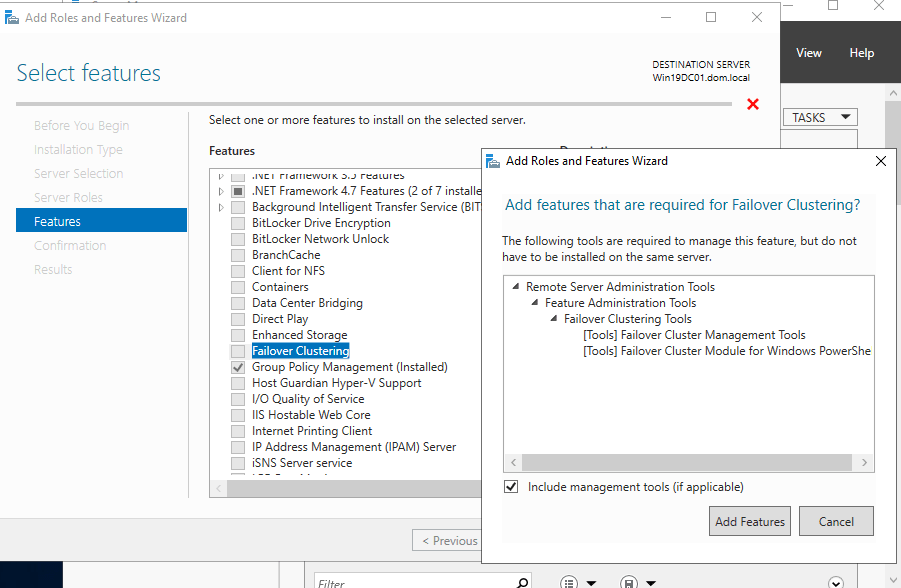
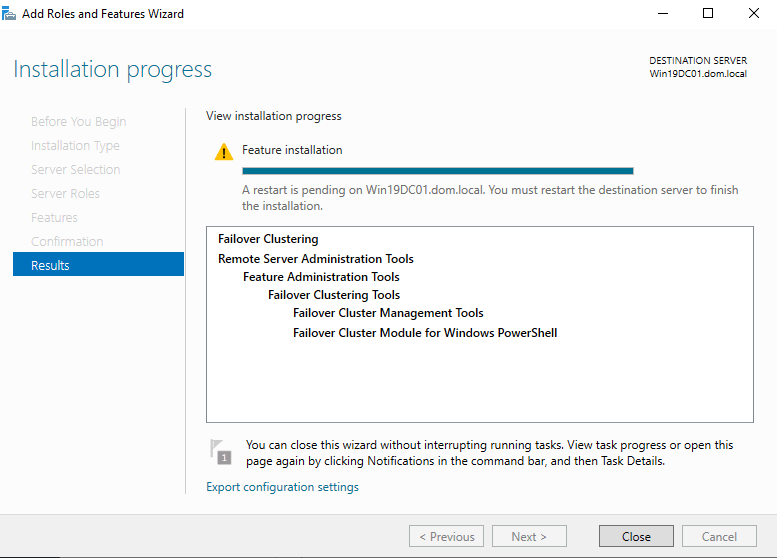
Add Failover Clustering Features to the servers
You must install the Failover Clustering feature on every server that you want to add as a failover cluster node.
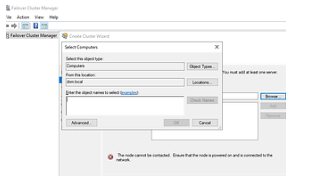
It will fail with the above if you try adding a server while creating a cluster without installing clustering feature.
Add the servers as a Failover Server

Create a cluster
1. Open the failover Cluster Server – Create Cluster – Browse and add the 2 servers created.
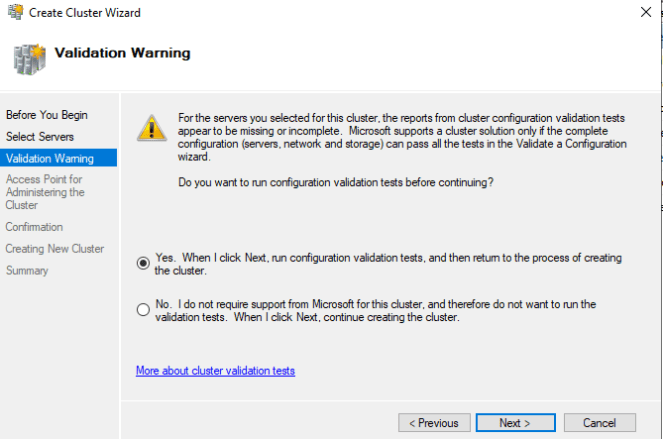
2. Validation Warning. Leave the option – Yes .When I click Next,run configuration validation tests, and then return to the process of creating the cluster.
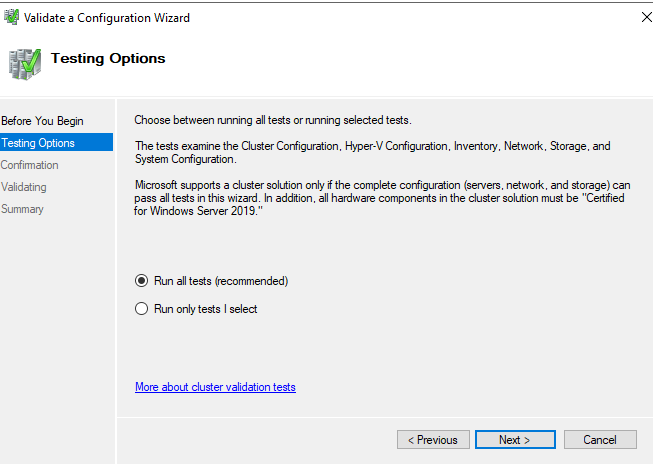
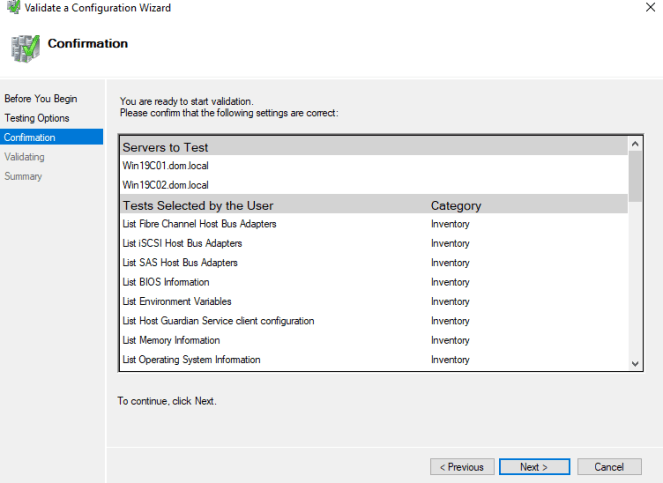
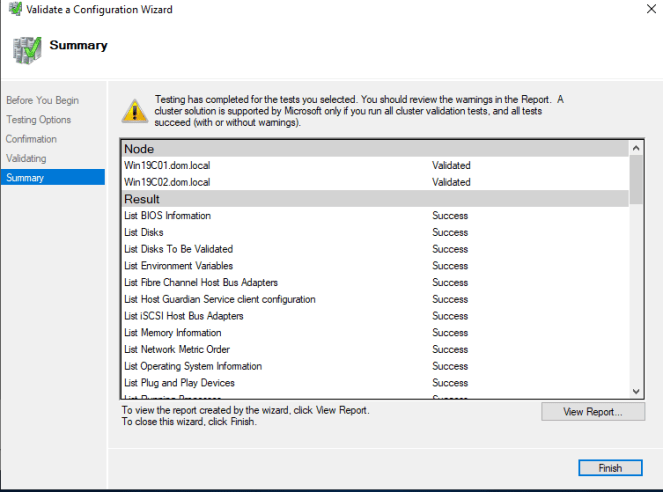
3. Testing Options – Run all tests (recommended).
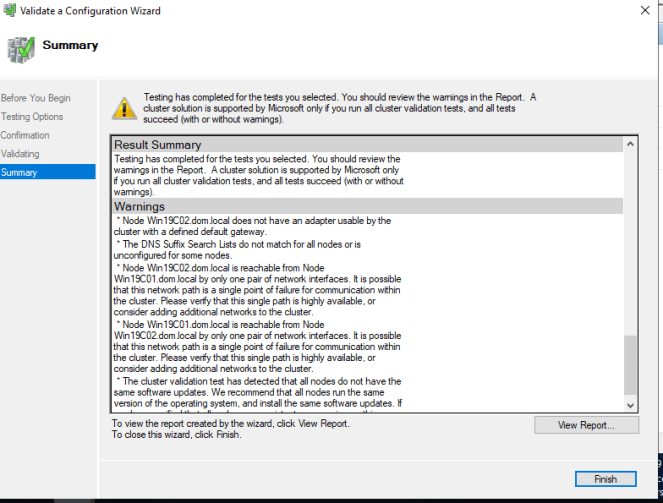
4. Review the Summary for any error or warning.A cluster solution is supported by Microsoft only if you run all cluster validation tests, and all test succeed (With or without warnings).
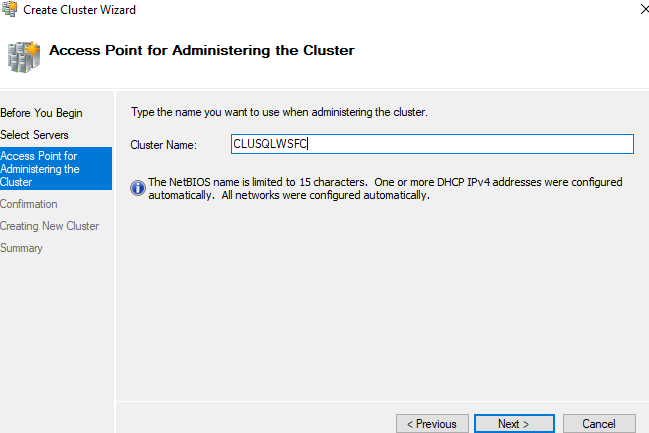
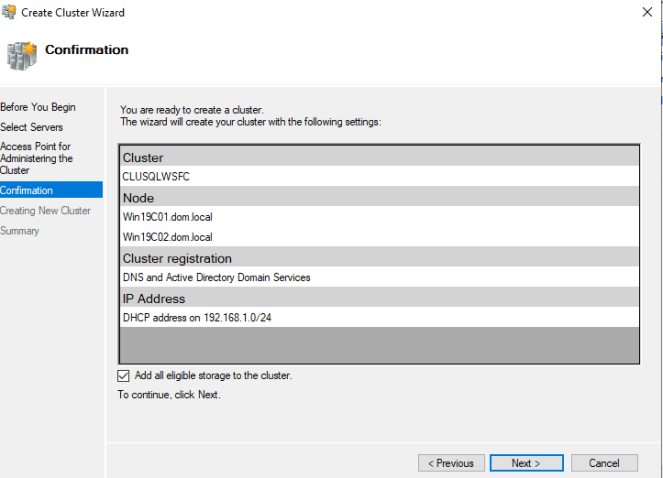
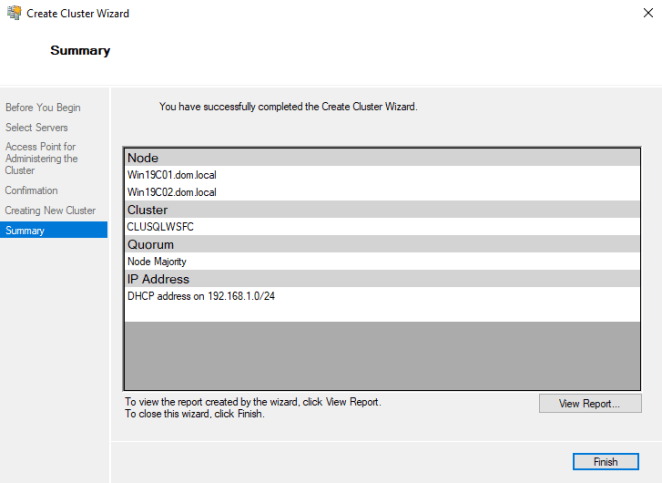
5. Access Point for Administrering the Cluster – Cluster Name: Your Cluster name.
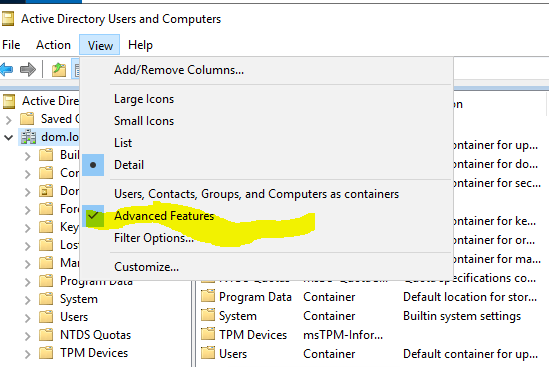
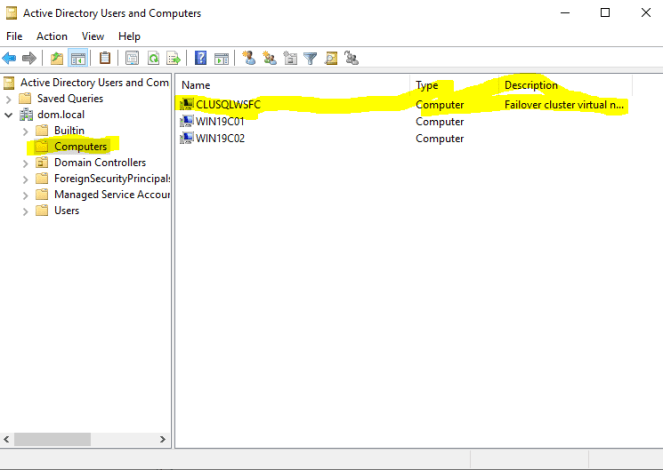
6. The Virtual Computer can be viewed in Active Directory Users and Computers.


Adding the cluster storage
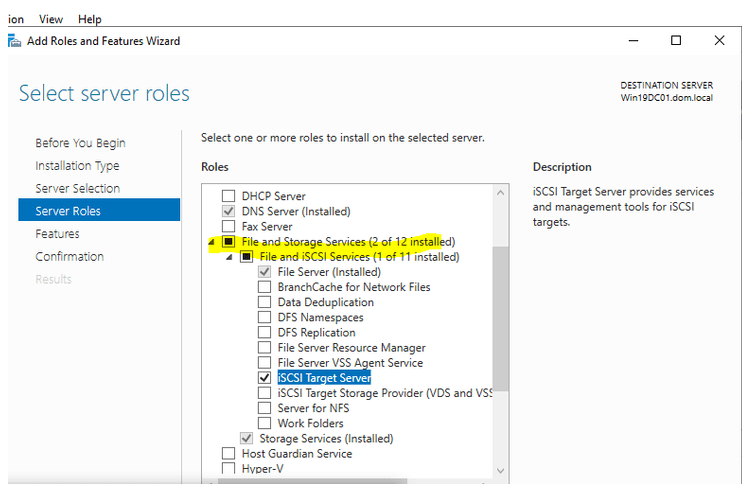
- Roles and Features Wizard – Click on File and Storage Service – File and ISCI Services – iSCSI Target Server
- click on the File and Storage Services to configure the iSCSI target server now and install.
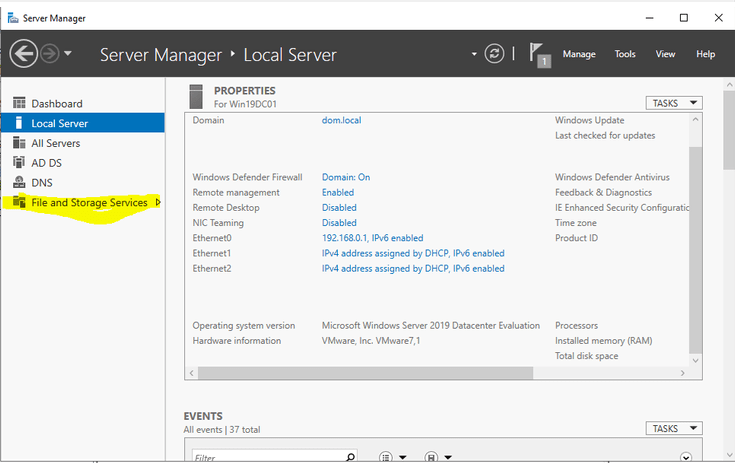
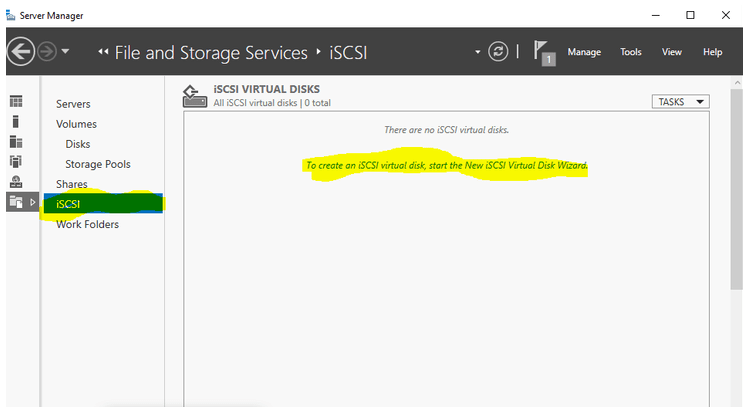
- Server Manager – Local Server – Click on File and Storage Services to configure the iSCSI target server now.Though the iSCSI is empty but it does give an option to create iSCSI virtual disk
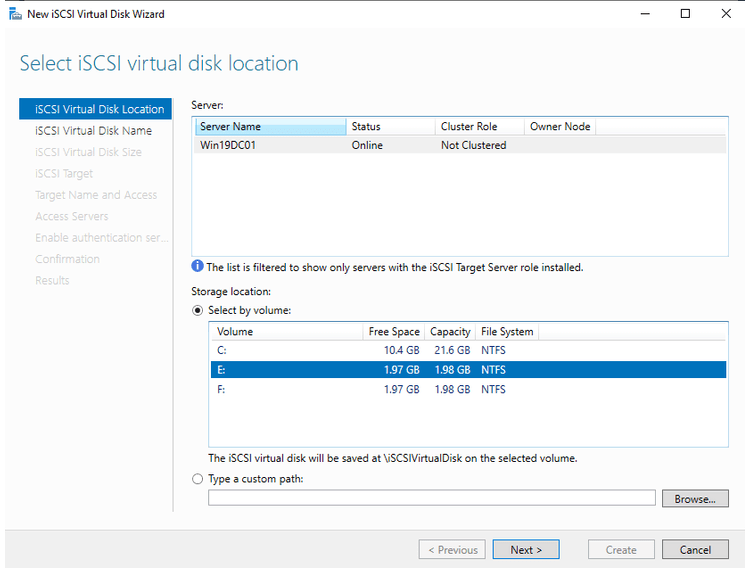
- We have the other volume created earlier E and F in the VM. Select the volume.On how to create a disk : https://kb.vmware.com/s/article/2030610.
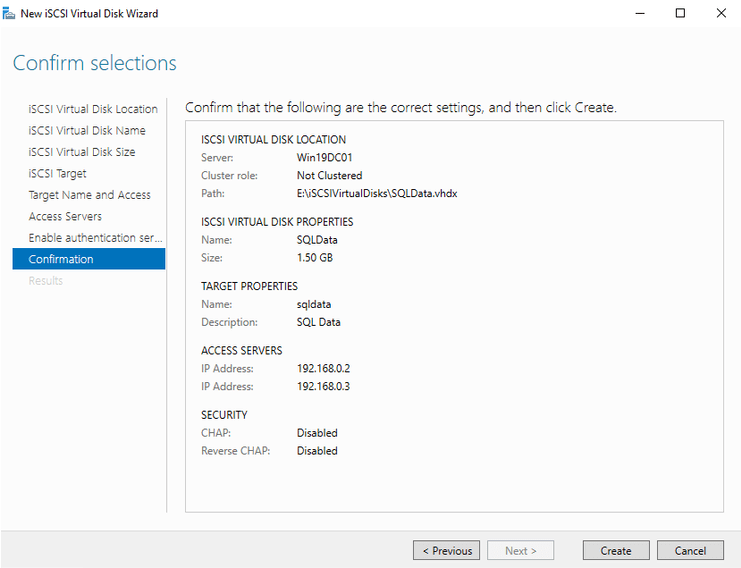
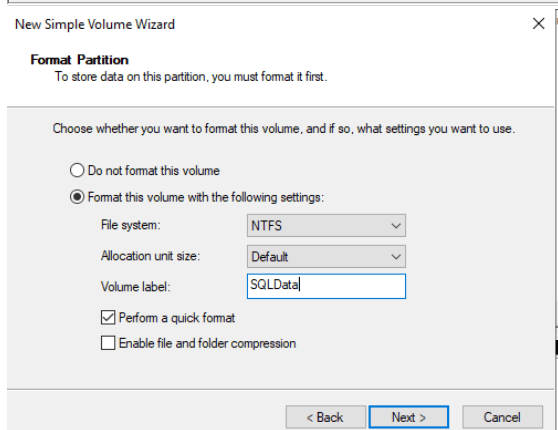
- Specify an iSCSI virtual disk name. I choose to call the E drive SQLData.
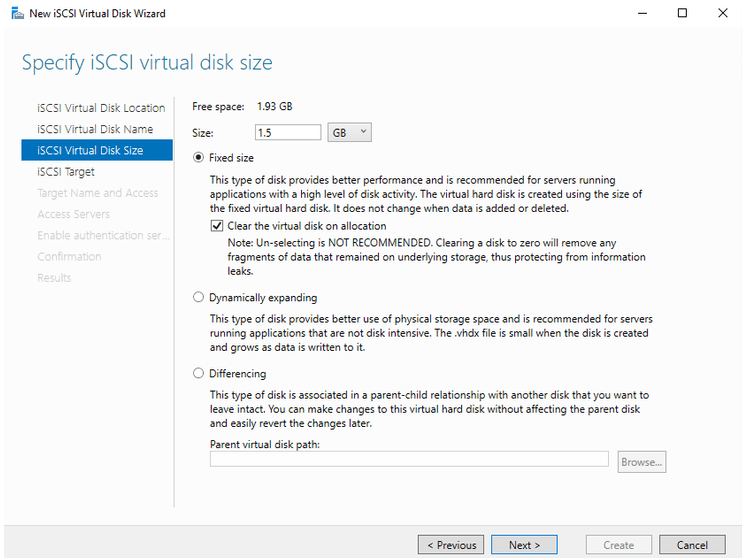
- You have the option of picking Fixed, dynamically expanding (for low disk intensive) or Differencing. Specify the size.
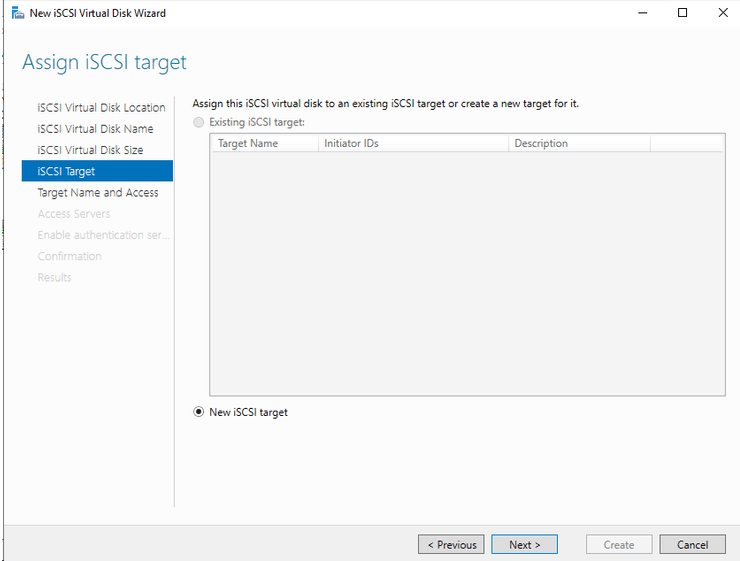
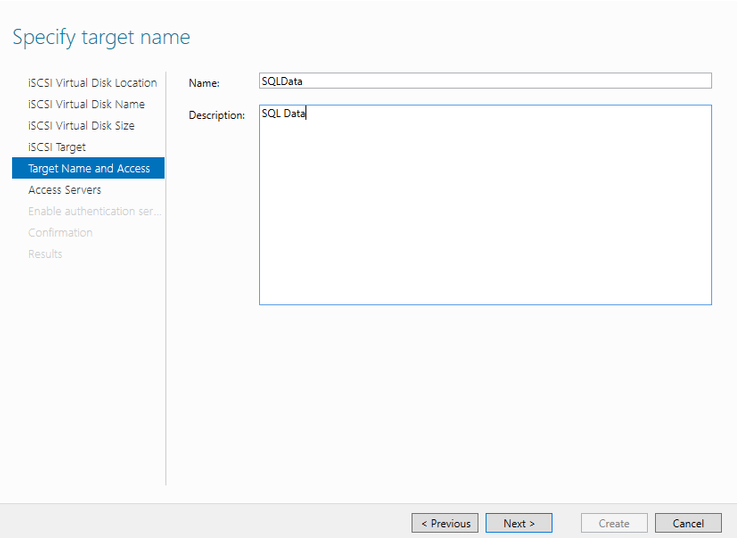
- A new iSCI target.Specify a target name.
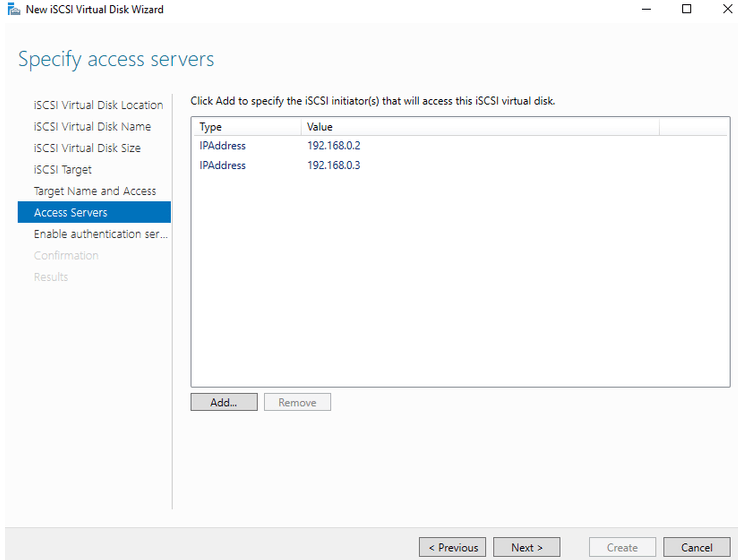
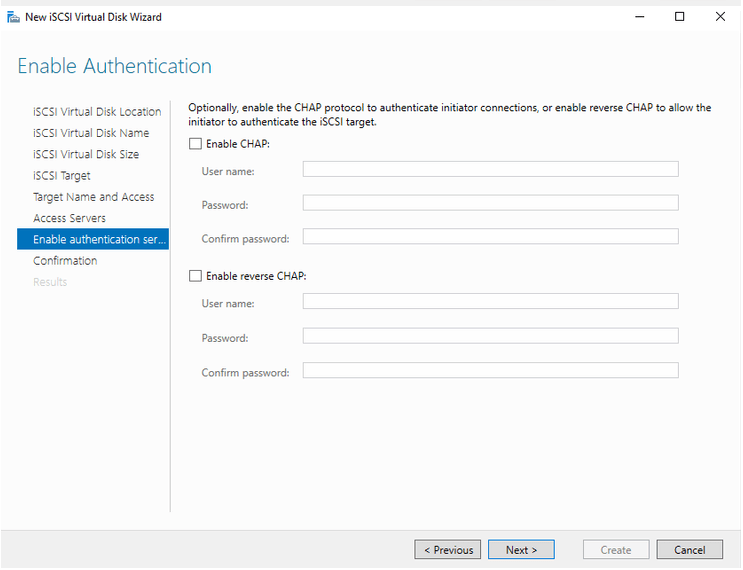
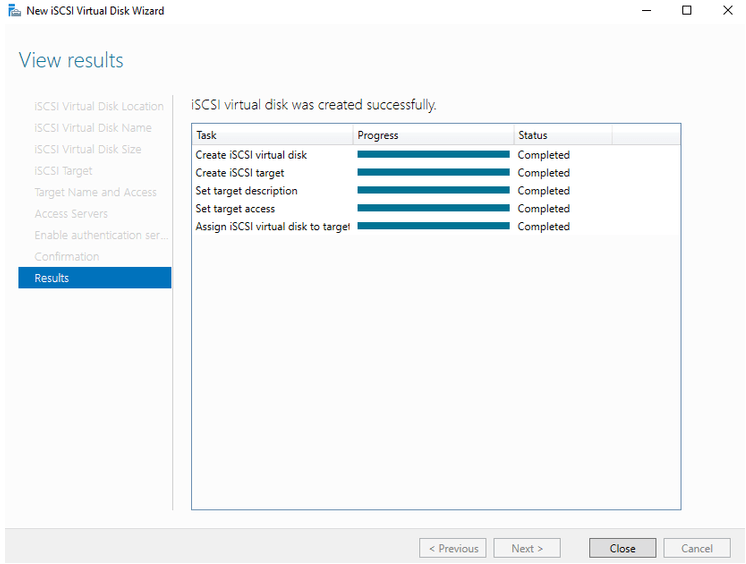
- Click to Add servers that will have access to this iSCSI virtual disk. Disk Type: IQN (iSCSI Qualified Name) or DNS Name, IP Address or MAC Address.Added both node>You can skip the Next page.iSCSI Virtual Disk created successfully.
- I repeated the above for SQL Log
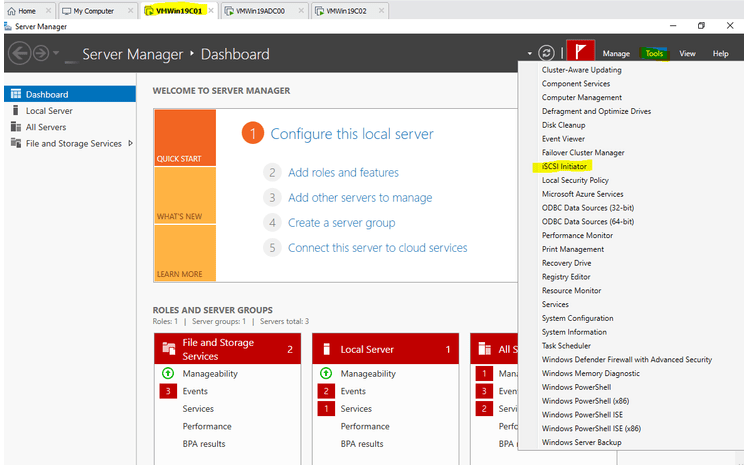
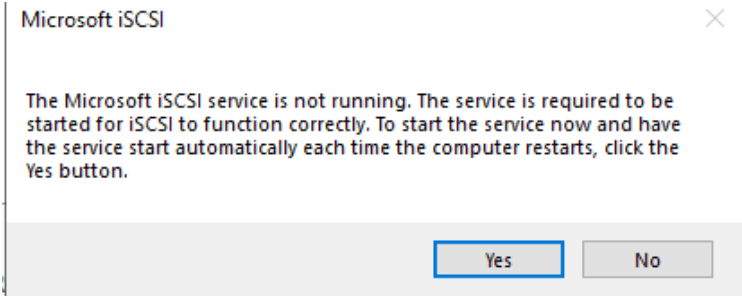
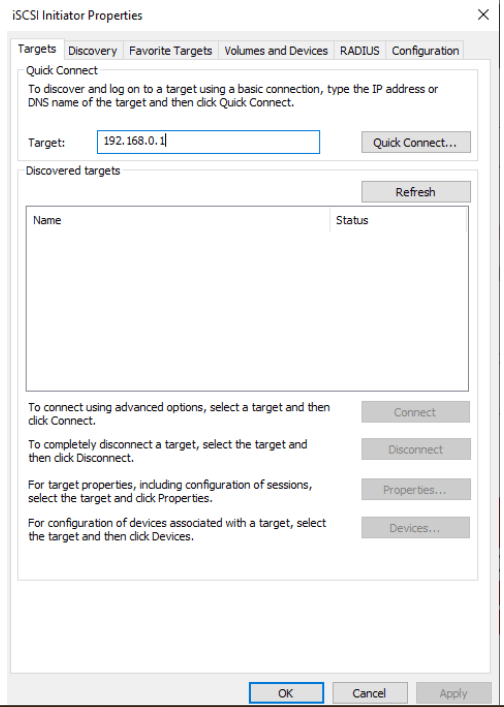
- To get the 2 nodes to recognise the disk, we need iSCSI initiator.It may prompt the The Micorsoft ISCI service is not running .The service is required to be started for ISCI to function correclty.To start the service now and have the service start automatically each time the computer restarts,click the Yes button. if you don’t have Microsoft iSCSI services set to automatic ,and click yes.
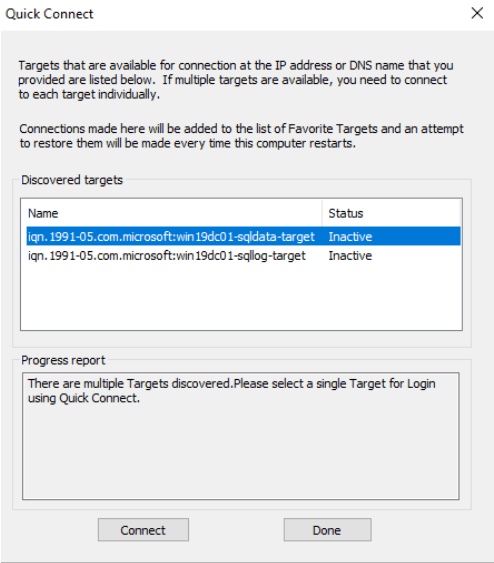
- Type in the IP where we have the virtual disk created earlier.It displays a list of iSCSI targets available on the specified IP address. I have both SQL Data and SQL Log.Connect both Disk.In the Disk Management in node1.
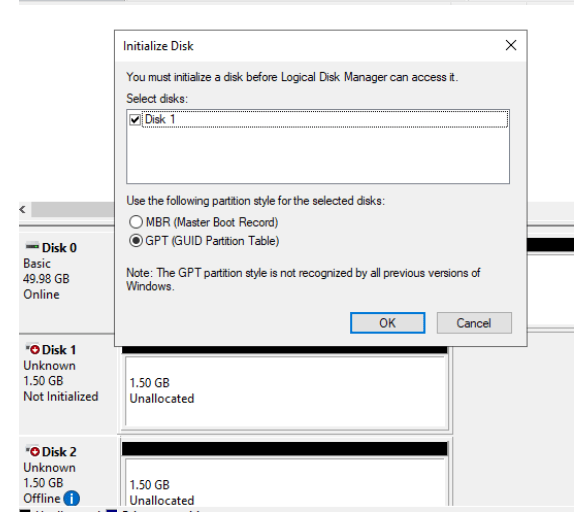
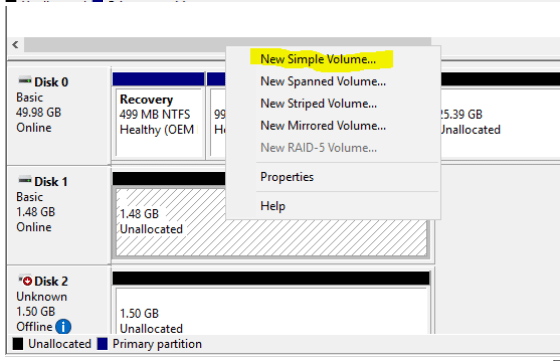
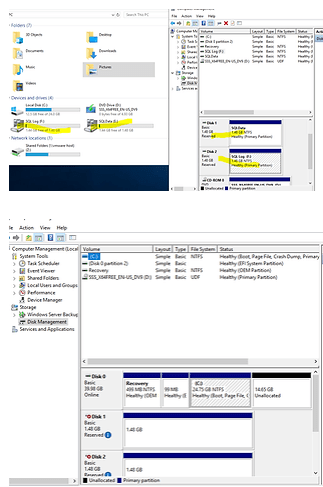
- Bring the Volume online (Changes from Offline to Not Initialized). Initialized the disk.Click on the Unallocated Disk – New Simple Volume.Complete the New Simple Volume Wizard.The 2 drives can be viewed in the screeen shot below.
Add Disk in the Failover Cluster Manager


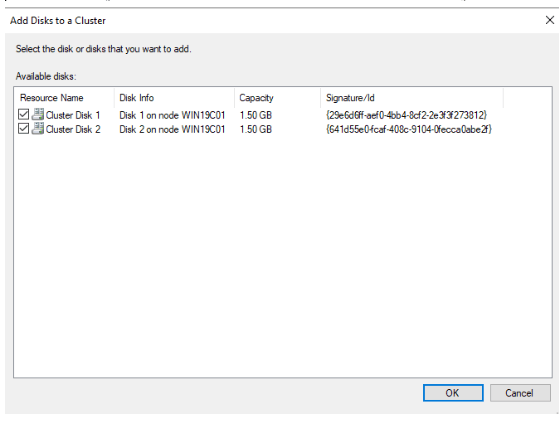


I restarted the node 2 ,to test the cluster.The Disk becomes available on Node 1.Node 2 looks like the below.
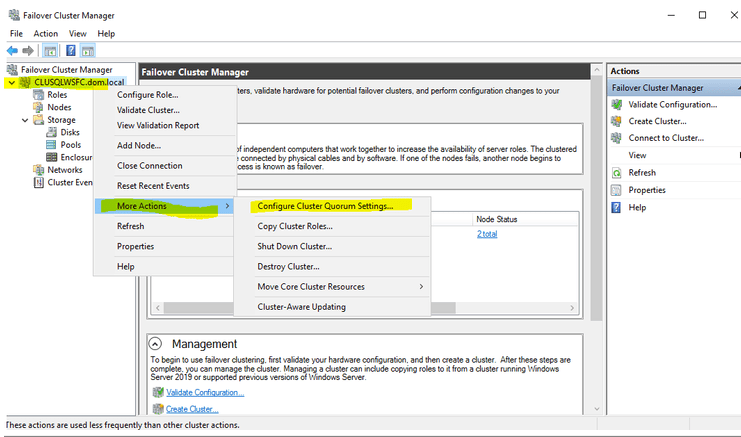
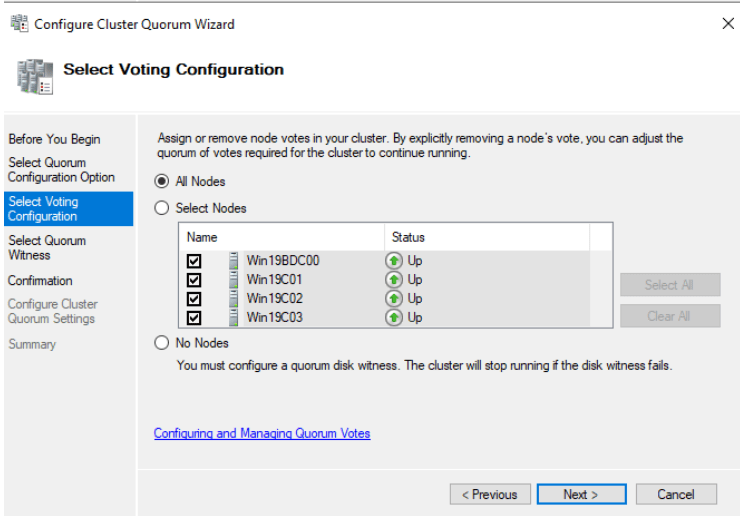
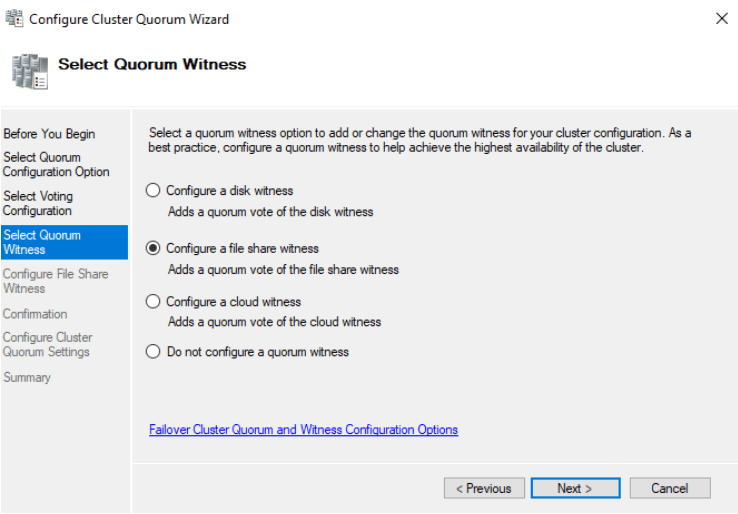
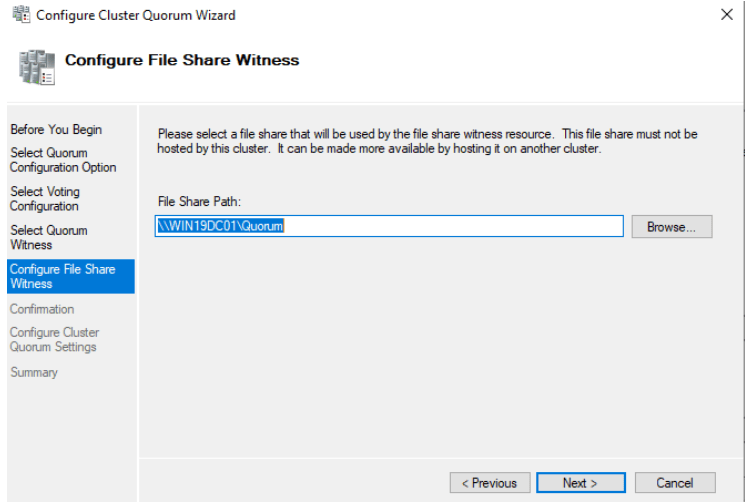
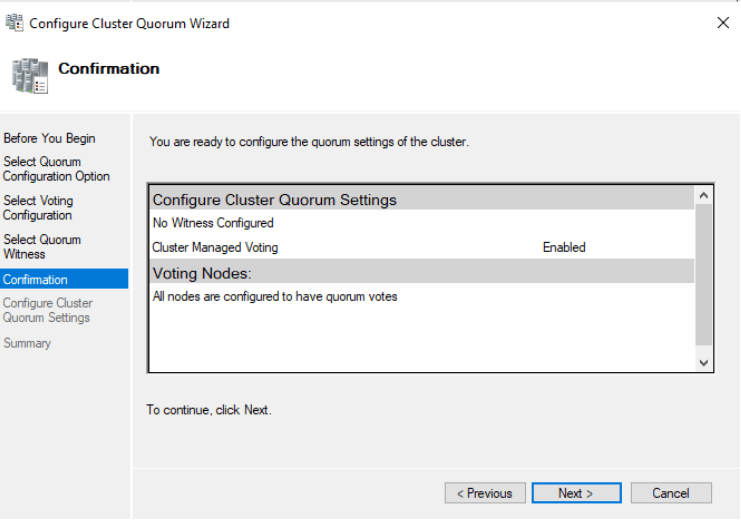
Configure Cluster Quorum Settings
<# Check the Dynamic Quorum#>

Get-Cluster | fl Name, DynamicQuorum

<# Check quorum #>

 Get-ClusterNode | ft ID, NodeName, NodeWeight, DynamicWeight, State -AutoSize

<# Check WitnessDynamic#>
Get-Cluster | ft Name, WitnessDynamicWeight -AutoSize

Summary
The introduction of setting up Windows Server 2019,Domain controller,Cluster,Cluster disk and Qourum.In the next tip,I will be setting up A SQL Failover Cluster.
